Anyone who has just moved out on their own needs to know how to use a vacuum cleaner step by step. They are the main appliance used to clean your floors. There are many uses for a vacuum cleaner, aside from cleaning the floor. They can clean your furniture or to get dust off your drapes. The attachment on your vac can clean your baseboards or to get cobwebs out of the corner of the room. Learning to use a vacuum is a skill everyone needs to know. Below you can see exactly how to use a vacuum cleaner step by step.
<
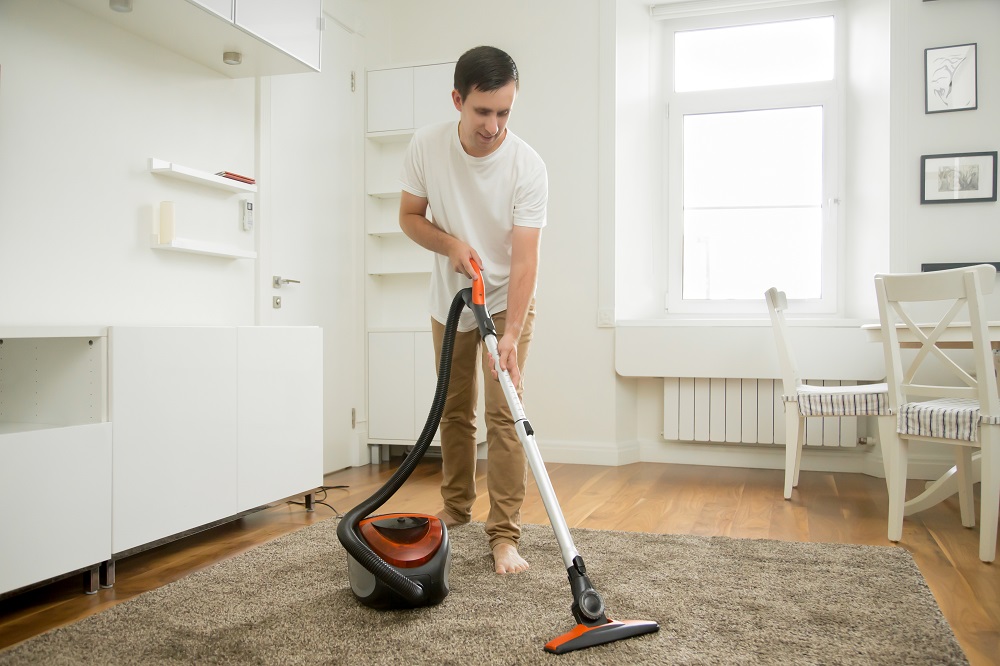
Table of Contents
- Types of Vacuum Cleaners
- Vacuum Cleaner Parts
- Common Vacuum Cleaner Attachments
- How to Use A Vacuum Cleaner Step By Step
- Step 1: Decide Where to Start
- Step 2: Pick Up Clothes, Toys & Jewelry
- Step 3: Plug in the Vacuum
- Step 4: Adjust the Floor Setting
- Step 5: Turn on the Vacuum
- Step 6: Tilt the Vacuum Back
- Step 7: Vacuum Center of the Room
- Step 8: Vacuum Along the Edge of the Room
- Step 9: Use the Attachments to Vacuum Furniture & Drapes
- Step 10: Empty the Canister or Change the Bag
- Step 11: Move to the Next Room
- Step 12: Clean the Vacuum & Put It Away
- Video: How to Vacuum a Carpet, Rug & Shag Rug
- How Often Should I Vacuum My Floors?
- Conclusion
Types of Vacuum Cleaners
There are many different types of vacuums available and it is important to know which type you have. Each type operates differently and requires different steps when learning how to use it. Here are the six types of vacuums you should be aware of.
Bagless Vacuums – Bagless vacuums are vacuums that don’t require the use of bags. They will collect the dirt and debris in a canister which you can empty in the trash when it gets full.
Bagged Vacuums – Bagged vacuums use bags to collect dirt and debris. When the bag gets full, throw it away in the trash and replace it with a new, empty bag.
Cordless Vacs – A cordless vac is a vacuum that uses a rechargeable battery for power and doesn’t have a power cord.
Stick Vacs – Stick vacs are a skinny type of vacuum that looks similar to a broomstick. They are often cordless and bagless but not always.
Canister Vacuum – A canister vacuum is a vacuum that has a large canister that rides on wheels. The canister will have a hose attached which is used to vacuum the floor. Canister vacuums will often contain bags to collect dirt and debris.
Upright Vacuums – An upright vacuum is your standard vacuum cleaner. You will often see these vacuums in movies and on TV shows. Some use bags but most are bagless. They are almost always corded.
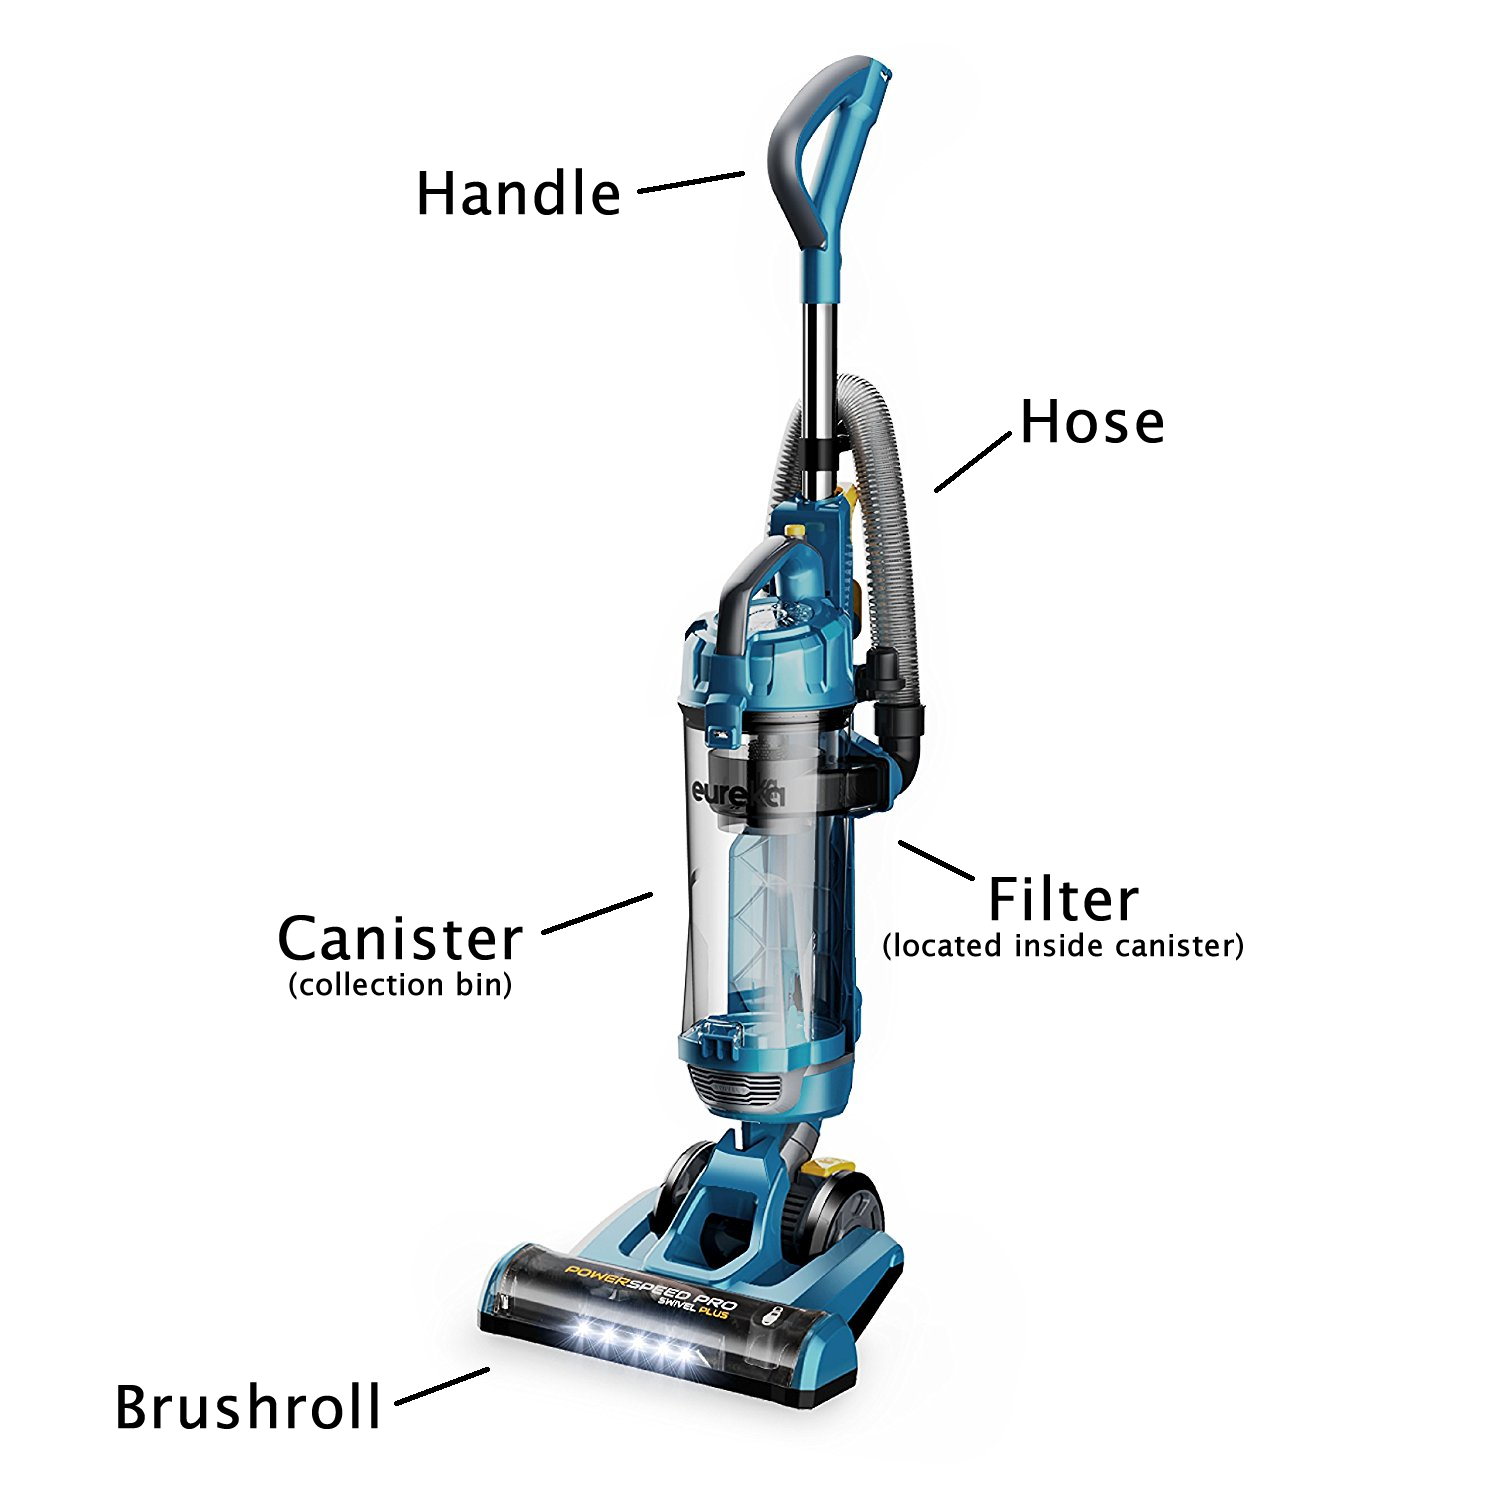
Vacuum Cleaner Parts
Before you start learning how to use a vacuum cleaner step by step, you need to know what you will be working with. Here are the common vacuum cleaner parts you will need to be familiar with.
Eureka NEU192A Upright Vacuum Cleaner
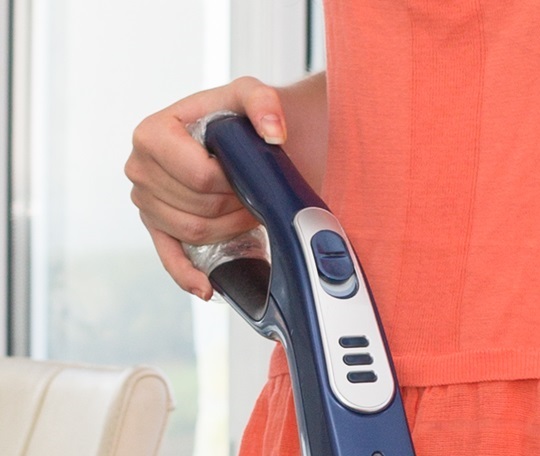
Handle – Upright and stick vacuums will have a handle located at the top of the machine. You hold onto the handle to push the vacuum around the room. Canister vacs may or may not have a handle. If it does have a handle, it will be on the hose.
Canister – All vacuums will have a main canister. The canister will either hold the collection bag or will be hollow. It is the middle part of the vacuum on upright and canister vacs and is usually located at the top of the vacuum on stick vacuums.
Collection Bag – If your vacuum has a collection bag, it will be located inside the canister part of the vacuum. This bag collects all the dirt and debris. Replace the bag when it gets full.
Filter – Each vacuum has a filter that traps airborne particles and fine dust while vacuuming. Some filters are reusable while others need to be thrown out and replaced. There are also different types of filters, the most common is the HEPA filter.
Brush Roll – Most vacuums have a brush roll located on the floor. The brush roll will spin and catch the dirt on the floor. It pushes the dirt into the vacuum so it sucks into the canister or bag.
Hose – All vacuums contain a hose. This is the most important part of the vacuum when learning how to use a vacuum cleaner step by step. This is where you will place the attachments. For stick vacuums, the hose is a hard tube that makes up the middle of the vacuum. With canister vacuums, the hose is found on the front of the canister and is used for vacuuming. On upright vacuums, the hose is not used while vacuuming but is used for attachments.
Common Vacuum Cleaner Attachments
Crevice Tool – The crevice tool is a hard plastic tool that starts out round at the base and then flattens out at the tip. The tip of the tool is angled. It is designed to get in between couch cushions, under the refrigerator, in between furniture and other tight places.
Dusting Brush – The dusting brush is a round tool with soft bristles at the end. This attachment is used to dust wooden surfaces such as baseboards, window trim or furniture.
Expansion Wand – The expansion wand is a long, hard tube that can reach where you can’t. It can get cobwebs in the corner of the ceiling and it can reach behind furniture. Another thing it can do is pick up large items so you don’t have to bend over. Place panty hose over the end of the tube and you can pick up almost anything.
Upholstery Tool – The upholstery tool is used to vacuum furniture. It is a short square tube that is angled at the end. Some upholstery tools have notches on the end. The notches can get deep into the fabric to get out ground-in dirt and debris.
How to Use A Vacuum Cleaner Step By Step
Step 1: Decide Where to Start

Bissell Cleanview Upright 1831
The first thing you need to do when learning how to use a vacuum cleaner step by step is decide where you are going to start vacuuming. Some people like to vacuum the bedroom floors first and move into the common areas, while others prefer to start in the living room and work their way into the bedrooms. Figure out which room you want to start vacuuming in and place the vacuum in that room.
Step 2: Pick Up Clothes, Toys & Jewelry
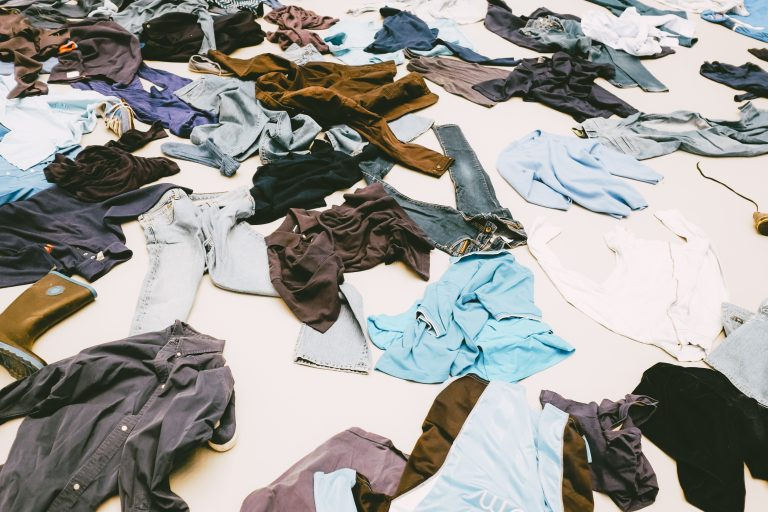
Go around the room and pick up clothing, toys and other small items that you don’t want to suck into the vacuum. If you wear jewelry, check to make sure none has fallen onto the floor. Move any furniture that you want to clean underneath.
Step 3: Plug in the Vacuum
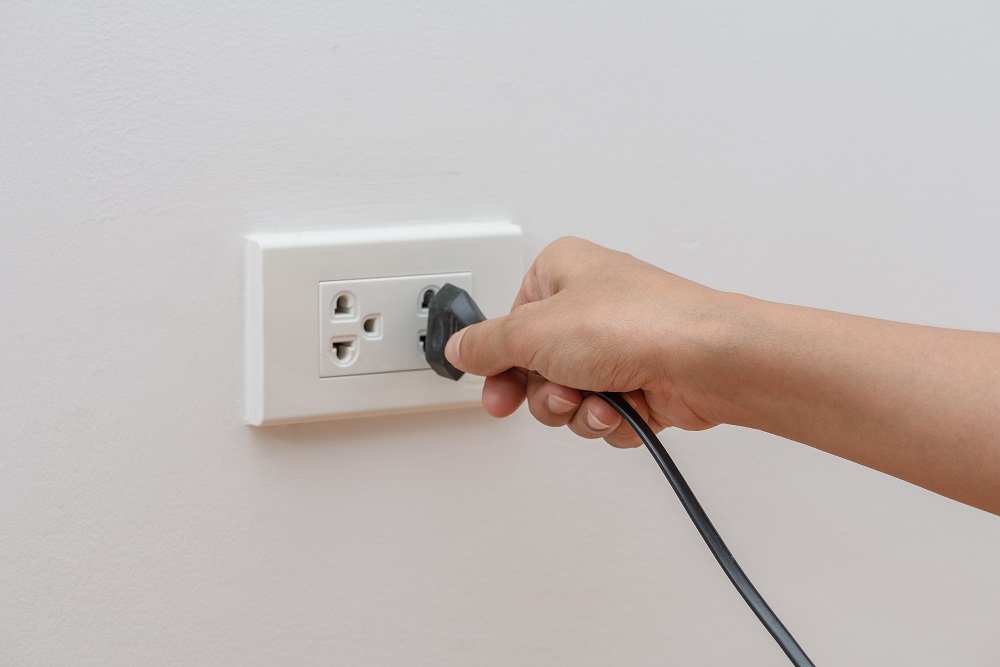
Plug your vacuum into a power outlet. Choose an outlet in the middle of the room. This is especially important if you have a short cord. You don’t want to be unplugging the vacuum every few minutes because you reached the end of the cord.
Cordless vacuums will not need to be plugged in but you need to make sure the battery is fully charged. If it is low on power, find the battery charger included with your vacuum and charge the battery for a full hour.
Step 4: Adjust the Floor Setting

Bissell Cleanview Upright 1831
Before you turn on the vacuum, you need to adjust the settings to match your floor. If you have thick carpet, you will want the highest setting. Those with hardwood floors will need to have the vacuum set to the lowest setting or use a hardwood floor attachment. You may also want to turn the brush roll off when vacuuming on hardwood.
The knob to change the settings will usually be located either on the handle of the vacuum or near the floor on top of the brush roll. Stick vacuums may not have specific floor settings and typically use floor specific attachments (roller attachment for carpet, flat attachment for hardwood, squeegee attachment for tile).
Step 5: Turn on the Vacuum
Turn on your vacuum by flipping the power switch. The location of this switch varies depending on the type and brand of vacuum you have but you can usually find this switch near the handle.
Step 6: Tilt the Vacuum Back

Eureka Lightweight Powerful Upright Vacuum
If you are using an upright vacuum, you tip the vacuum backwards in order to move it around the room. There is usually a foot pedal located on the backside of the vacuum that you can press with your foot to tilt the canister back.
A stick vacuum may also need to be tilted back. To tilt a stick vacuum, put the floor attachment on the ground and hold it down with your foot as you tilt the stick backwards at an angle. You will hear a clicking noise. When you take your foot off the attachment, it should stay flat against the ground. Before doing this, make sure you read the instruction manual for your specific vacuum. Different vacuums have different ways of tilting.
Step 7: Vacuum Center of the Room

Bissell Cleanview Upright 1831
Now that you have turned on the vacuum and tilted backwards, it is time to start vacuuming. Start in the center of the room and move the vacuum back and forth. Move side to side and at an angle. Try to go over any dirt, hair, dust and debris that you see. If the vacuum doesn’t suck it up the first time you go over it, continue to go over it until it is gone. If there is any dirt or debris left, pick it up by hand and throw it away.
Step 8: Vacuum Along the Edge of the Room

Shark Navigator Upright Vacuum
After you have thoroughly vacuumed the center of the room, vacuum along the edge of the room. If may want to move furniture to get to the walls, otherwise you can choose to vacuum around the furniture. Vacuum along the entire perimeter of the room.
Step 9: Use the Attachments to Vacuum Furniture & Drapes

Bissell Cleanview Upright 1831
Part of learning how to use a vacuum cleaner step by step is vacuuming the furniture and drapes. Start with the dusting brush and vacuum the baseboards along the edge of the room and then the window trim. Switch to the upholstery brush and vacuum off the furniture in the room. Finally, use the expansion rod to get any cobwebs along the ceiling. You can also use the expansion rod to get between or behind furniture. If you pulled out any furniture, now is the time to put it back. Make sure you vacuum where the furniture was sitting.
Step 10: Empty the Canister or Change the Bag
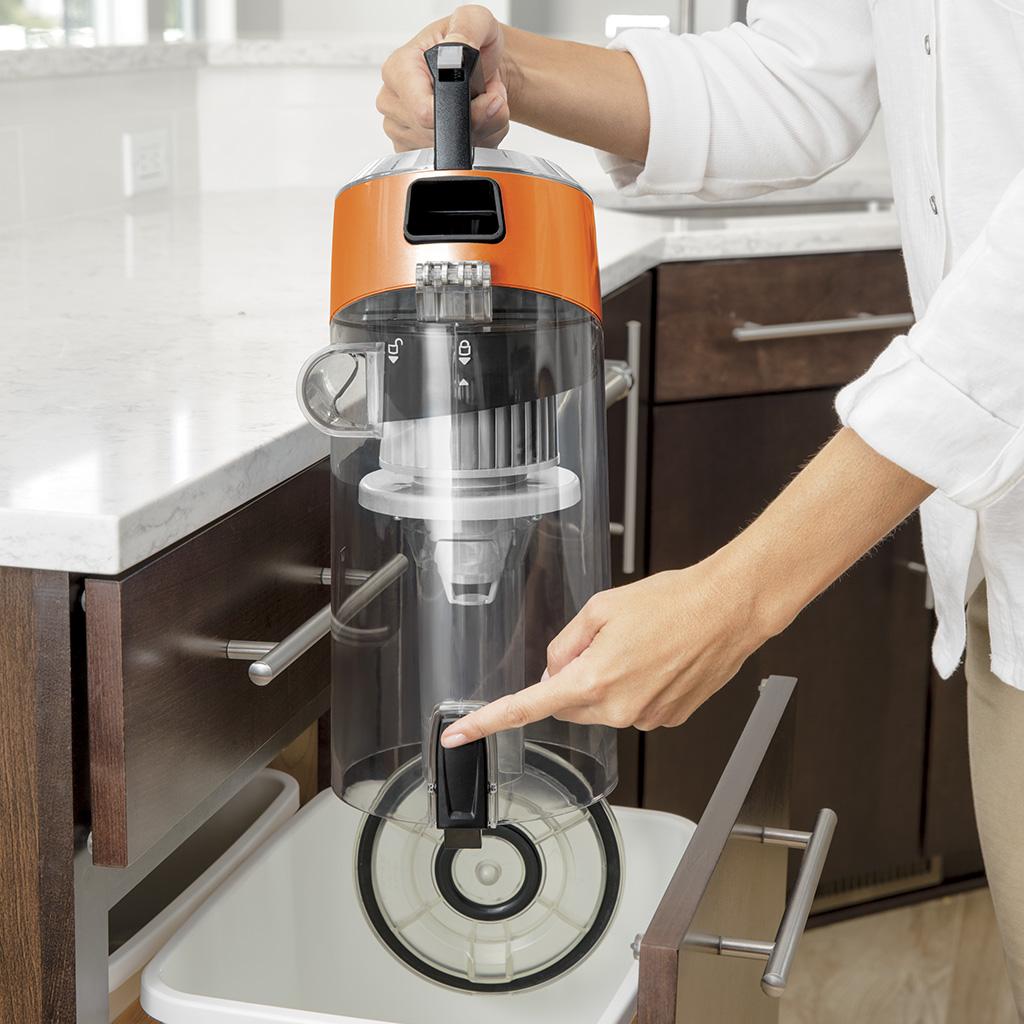
Bissell Cleanview Upright 1831
Congratulations, you have completely vacuumed one room! You are well on your way to learning how to use a vacuum cleaner step by step. Depending on how dirty the room was, you may have to change the bag or empty the canister. People with pets need to empty their vacuums often.
If you have a canister, you can empty it pretty easily. First, take the canister off the vacuum. There is usually a button you can press to release it from the vacuum. Check out the manual for your vacuum to see exactly how to do this. Hold the canister over a trash can and push the button or lever located on the canister. This will release the bottom of the canister and the contents will fall into the trash. Again, the way your specific canister works will be different depending on the brand and type of vacuum.
If you have a bagged vacuum, replace the bag with a new one and throw the full bag in the trash. The location of the bag and how to replace it will vary based on the brand of your vacuum.
Step 11: Move to the Next Room

ORECK XL COMMERCIAL Upright Vacuum Cleaner
Move to the next room and follow steps 1-10. Continue vacuuming all rooms in the house.
Step 12: Clean the Vacuum & Put It Away

Dirt Devil Vibe 3-in-1 Vacuum Cleaner
Before putting your vacuum away, make sure that the canister is empty or that it has a new bag. Wash the attachments with soapy water and dry them with a rag. Use a damp cloth and wipe down the front of your vacuum and the handle. Store your vacuum in a closet so it won’t be a tripping hazard.
Video: How to Vacuum a Carpet, Rug & Shag Rug
How Often Should I Vacuum My Floors?
You should try to vacuum your floors once a week. Now that you know how to use a vacuum cleaner step by step, it should be easy to keep up with a regular schedule. People with children or pets may have to vacuum more often than once a week. If you begin to see a lot of dirt and hair on your floor, then you know it is time to vacuum.
Conclusion
Learning how to use a vacuum cleaner step by step is an important skill. If you value the importance of having a clean home, then you will want to vacuum your floors regularly. This will help reduce allergens in the air and will keep your home looking and smelling nice.